Real estate photography has become a need of the real estate industry. It might seem complicated for several, but every photographer should also have training for this.
As a photographer, it can add some variety to your online portfolio. Real estate agents need high-quality images for selling and renting property. There are plenty of photography examples online, but many of you have failed in this.
Make sure real estate photography is to catch and holds the attention. This specialized genre is simple, but you must learn specific skills for compelling photos. Let’s get into the blog for a complete guide to Real estate photography.
Before reading further, you must read our interesting article about 10 Still Life Photography Tips for iPhone Users
What Gear Is Required For Real Estate Photography?
Real estate photographers must invest in high-quality equipment to ensure the best shots to impress clients. If you are planning to get into real estate photography, acquire the best quality standards.
DSLR Camera
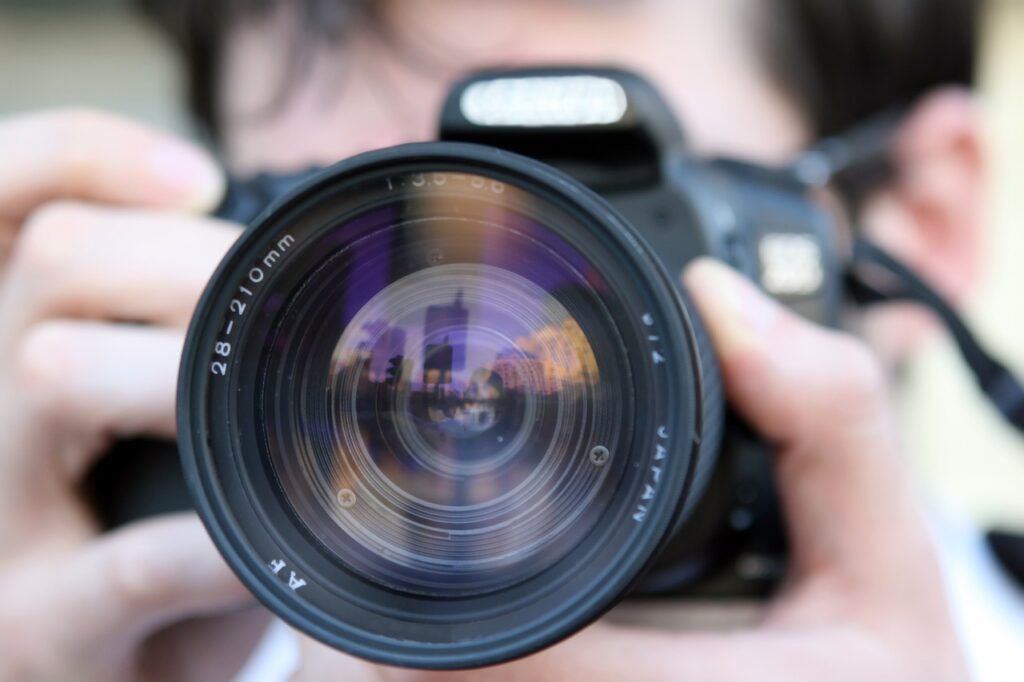
A DSLR camera allows you to shoot manually for real estate photography. Make sure you are buying the highest-quality DSLR, which gives you more options while shooting and editing photos.
A wide-angle is a must-have for real estate photography because It allows you to capture great images in narrow spaces such as small rooms.
It makes the room appear more spacious for real estate photography. The best lens for real estate photography is needed for professional photography skills.
Get a tilt-shift lens. This option is perfect for real estate photography to eliminate the distortion of a wide-angle lens.
Tripod
Tripod is a gear for real estate photography and allows you to set up the camera simultaneously. You can set the height whenever you want.
It helps to ensure real estate images appear clean and focused with no blurriness or haze caused by sudden camera movement. Long-exposure images of the house’s exterior create a beautiful shot required in this industry.
Flash
Flashes are essential but mostly avoided in real estate photography. They are required for low-lighting areas. There are two main types of flashes mono lights and flashguns.
Start with flashguns, these are affordable, but for photography for more spacious properties, monolights are the best option for brighter light output. When you invest in a flash, check for a built-in receiver that you can trigger. Get a flash trigger that you can attach to the flash so you can trigger it without touching it.
Real Estate Drone Photography
Real estate shoots can start with a wide-angle lens, tripod, or flash to ensure everything is fine. For real estate photography aerial, you need to invest in a drone.
Drones for real estate photography can be great for stunning exterior images of entire properties and surroundings. Drones can be expensive, in the $1,000 range, so you must decide to invest in the gear once the real estate photography business is running.
Real Estate Photography Tips to Follow
Once you have gotten the gear and are ready to take photos. The following things need to consider for real estate photography. Read more about what is an influencer.
Know what To Cover
Well, every photographer needs to determine what to cover for photography. It would help to learn the professional shoot for the real estate industry. Prepare a list just like the one below to stay organized.
-
- Two wide-angle shots of each room of the house including the bedroom, Living Room, and kitchen.
- One photo of the bathrooms, unless it’s spacious or stunning, for more than one shot.
- One photo of the laundry room, garage, and walk-in closets.
- Two shots of the front and backyard each.
- One shot for the front area of the home to show the curb appeal.
Get Ready With The Gear A Night Before
You should be prepared with gear the night before for real estate photography. You need to be knowledgeable enough about what to expect before the shoot. Gather the few items that you need to work on. Follow these preparation tips:
-
- Must have a charger.
- Take the best camera for real estate photography and get the second one if you have one.
- Get all the gears including charging all batteries, formatting memory cards, and packing the bag.
- Include backup gear and make sure packs those items as well.
Need To Walk-Through Before Shooting
You need to walk through before shooting. It will help to know how the property is styled. Each room should be cleanly uncluttered with enough furniture and decoration to look better.
Make a note of potentially challenging rooms for the shoot so you can shoot these tricky areas in the best light. Real estate photography is to make sure the building looks good rather than focusing on the interior.
Walk-through before the shoot help to know which spaces are ready and which need more minutes of tidying up. Take notes to organize the rooms for real estate photography.
Lights On Or Off?
You must focus on turning the lights on or off while doing real estate photography. Turning lights on to make space feel warmer. You can introduce the color temperatures and adjust the white balance.
To give the light temperature, leave the lights off, but it would also give the cold feeling in real estate photos. If a property has large windows, the let light inside and natural light looks best in every situation.
Use interior lights or external flash units when you come across a property with low lighting. Turn on the desk lamp for the effect of lousy shadow. For different color temperatures of the light bulbs, turn them off and use flash instead.
Use Flash And Bounce To Diffuse
You must use flash units attached to the camera during the shoot to move quickly from one space to another. Try attaching the light diffusers to the light source. Bounce the lights off the walls to soften them..
Quick drop to shadow around it, which is known as vignetting. Turn the flash, so it bounces off a wall behind, the ceiling above, or even the side walls. You allow the light to diffuse into space and give a different look.
Buy a flashgun for the multi-angle flash head. Use the flash in manual mode, giving complete strength control. The starting point could be 1/16th power and adjust from there.
For larger spaces, install flash units on light stands. Position out of the frame and angle toward the ceiling. The lights’ position depends on the room’s size and shape. Place strobes in the corners for most cases. Try other spaces to get even illumination.
Shoot Straight
While shooting for real estate photography, shoot through different angles and keep the camera straight. It helps to avoid distortion for straightening in a light room or Photoshop. Use a sturdy tripod or adjust the live view settings to display the virtual horizon.
The height for real estate photography is a maximum of 5 feet. Every home is different; this height gives more natural and feels balanced. If you go too high, you will start seeing too much ceiling; for too low, it will provide too much view of furniture and enough of the actual room.
Correct Distortion Using Lens Correction
You need to make sure to apply the best lens correction and correct the verticals first. Find the lens correction module within the detail module. Check the box with “enable profile corrections.” These two settings will make the photo more sophisticated.
Ensure the lens you have used appears in the drop-down menu under the lens profile. Click on the Transform module. Check the box that says “Constrain crop.” Click on Auto.
Double-check whether it is corrected all of the lines are. You can manually use the sliders in the module for adjustments.
Basic Adjustments
These are the experiments for real estate photography that you can do with your real estate photography. The main adjustments are to lower the highlights, brighten shadows, deepen blacks, and increase clarity. You should have selected the right Lightroom preset for every shot.
Make It Composite
Real estate photographers spend most of their time preparing the shot with the camera on the tripod. If you don’t have a range of flashguns for different areas of the photographs.
Walk around the frame with a flashgun in one hand and a remote in the other. Start with a base image of the composition. Fill in each room section with a flash of the doorways, the walls, the dark shadows, and other points of interest.
Here is an option to correctly expose the indoor light by making a composite. You can use this method for an exterior photo. Use flash to illuminate different sections of the house.
Best real estate photographers will let you believe their pictures from a single exposure. You need to be familiar with Photoshop composites before getting into this industry.
Final Thoughts Of Professional Real Estate Photography
These real estate photography guidelines can lead you to a professional photographer. Connect with clients to create an online portfolio showcasing real estate photography skills. Do share your experience with us on what you learned from us on real estate photography.
You may be interested in our other informative ideas on lifestyle, home maintenance, and everything you need to know like Business Branding | Short Form or Long Form Videos | The Best Way to Go
Spread the love by Liking, sharing, and following us on social media with your friends.
 215
215

